|
|
|
|
|
|
|
|
|
|
|
|
|
|
|
|
|
|
|
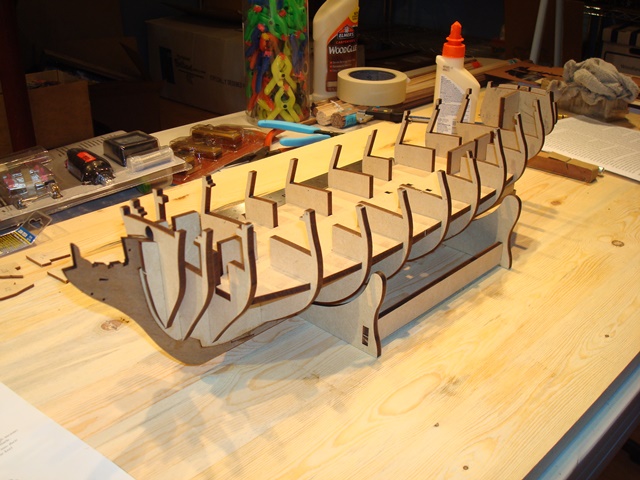
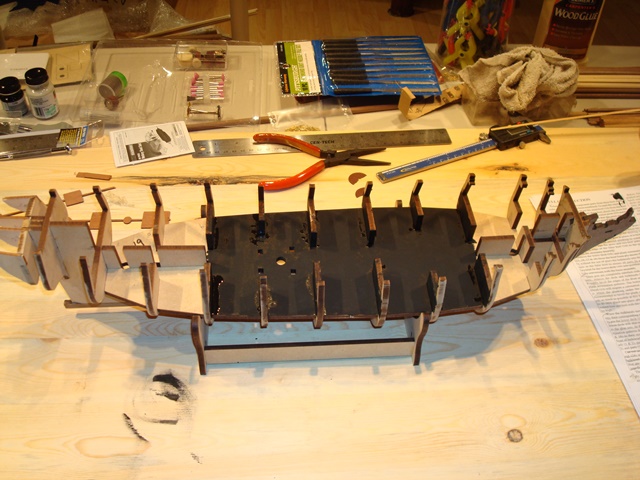
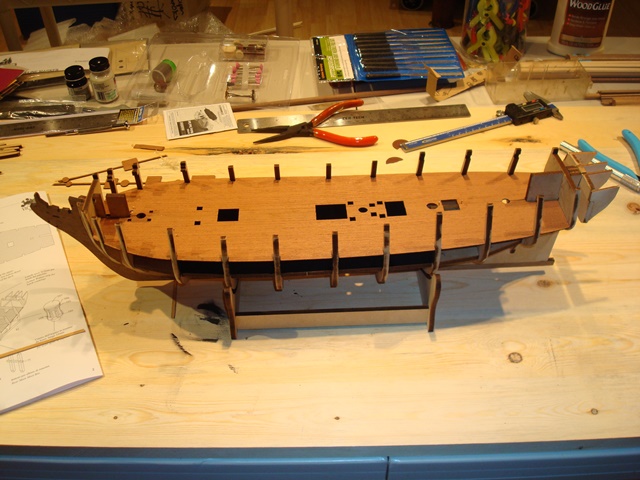
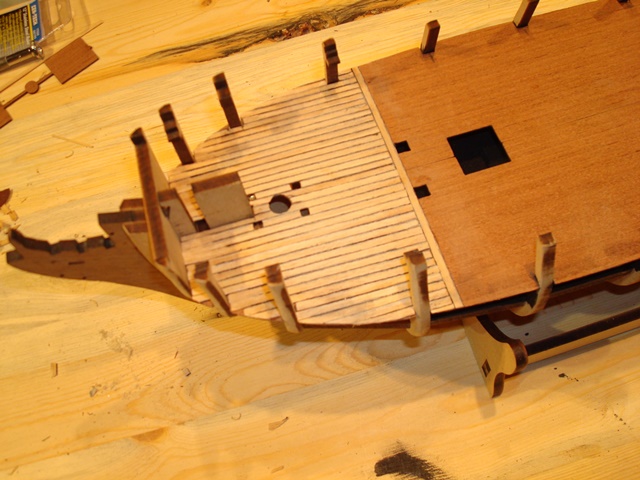
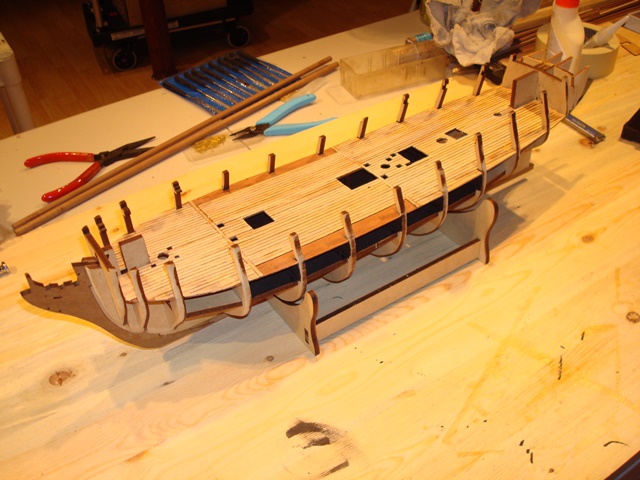
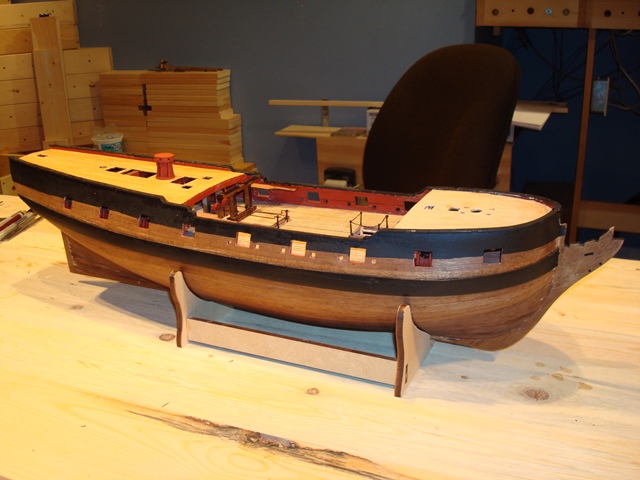
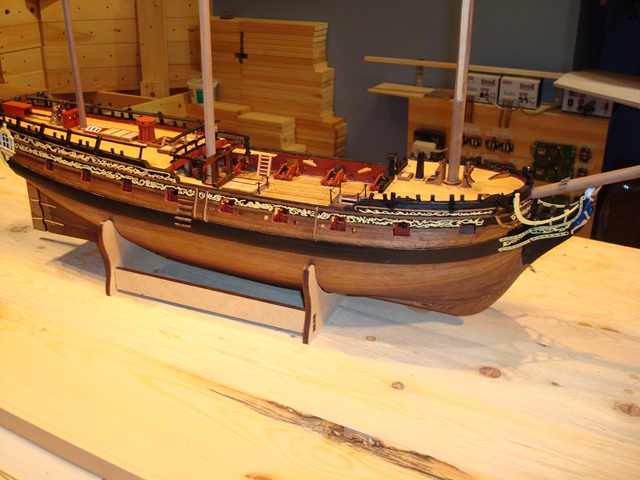
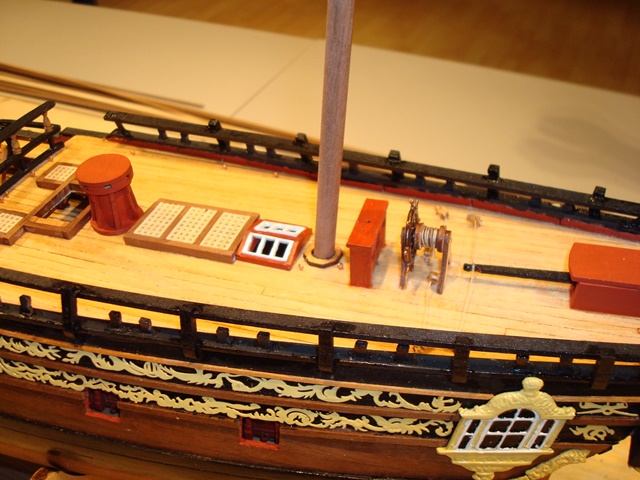
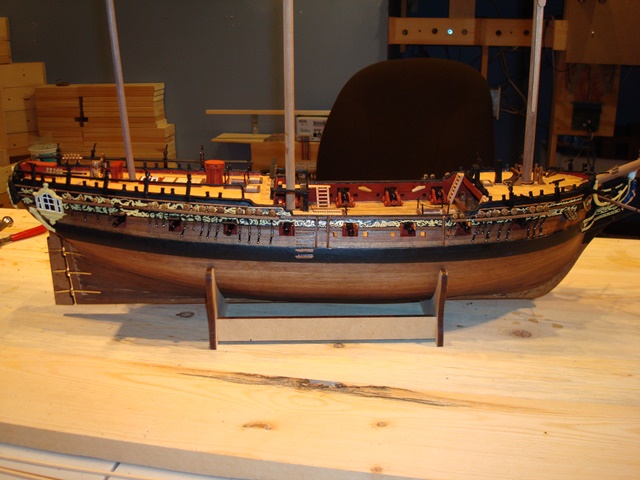
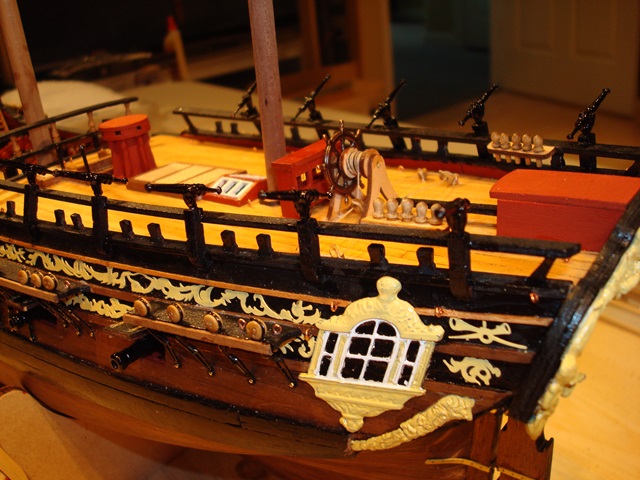
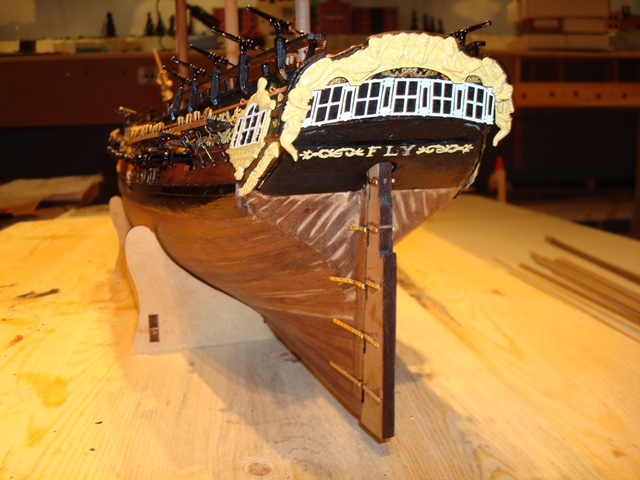
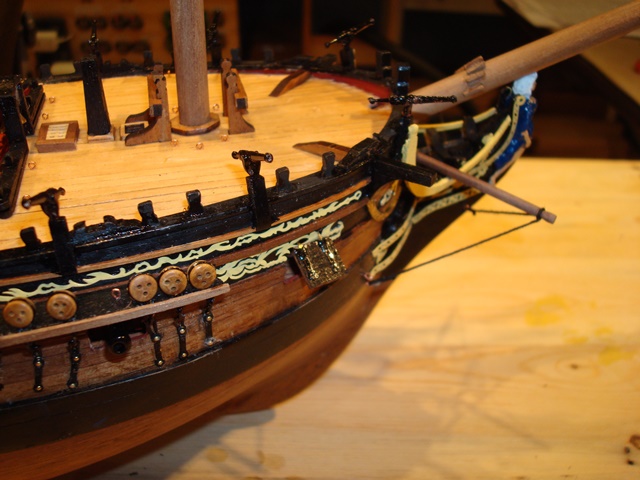
Hull near completion.After 9 weeks and approximately 70 hours, the hull is nearing completion.
|
|
|
|
|
|
|
|
|
|
|
|
|
|
|
|
|
|
|
|
|
|
|
|
|
If you have any questions, suggestions, or just general comments, please feel free to email me at oliver@omayes.com